
How to Repair Tubeless and Tube Tyre Punctures: Complete Step-by-Step Guide
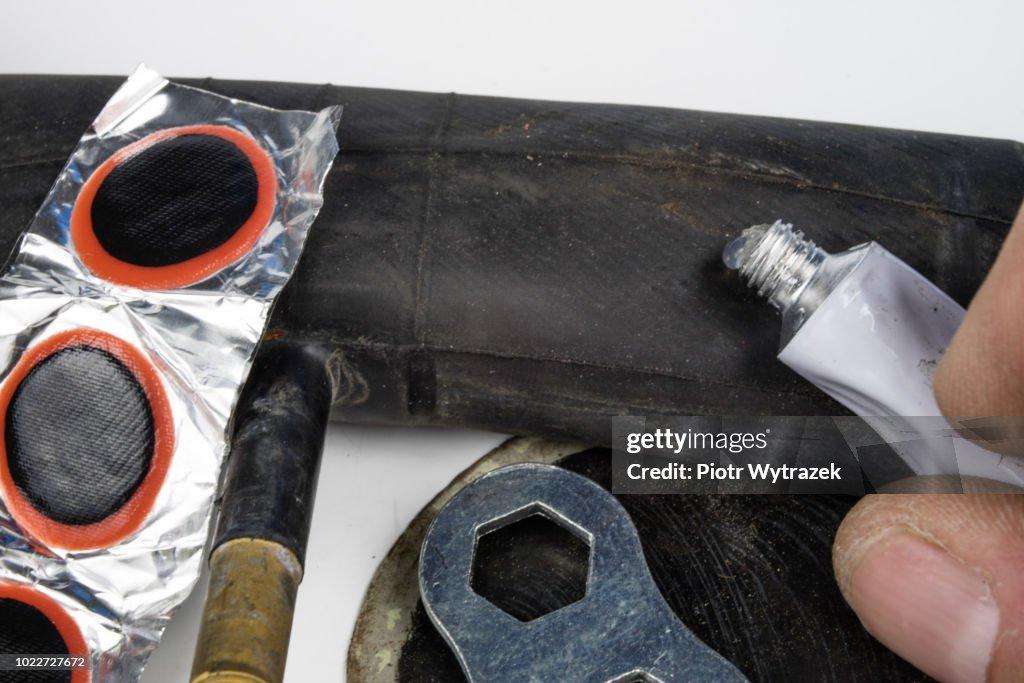
Learn how to quickly fix punctures in both tubeless and tube-type tyres. Follow this comprehensive DIY guide covering required tools, patching techniques, and essential safety tips to get back on the road safely.
Understanding Tyre Puncture Repairs
Punctures are an inevitable part of driving and riding. Mastering proper tyre puncture repair depends on whether your vehicle uses a tubeless or tube-type tyre, as each determines the repair procedure, the necessary tools, and whether the wheel must be dismounted.
1. How to Fix a Tubeless Tyre Puncture
Tubeless tyres are sealed directly against the wheel rim. When punctured by a nail or sharp object, air escapes slowly, and you can generally execute a roadside tyre puncture repair without removing the wheel from the vehicle.
-
Locate and Extract: Inspect the tread pattern to locate the offending object. Spray soapy water over the tread if the leak is difficult to spot. Once found, extract the nail or screw with a pair of pliers.
-
Ream the Hole: Insert the spiral rasp or reamer tool straight into the puncture hole. Work it back and forth several times to clean out debris, align the entry path, and roughen the rubber channel.
-
Thread the Plug: Take a sticky vulcanizing rubber strip to prepare your tubeless tyre plug and thread it through the eyelet of the split-eye insertion needle until centered.
-
Insert and Trim: Push the insertion tool directly into the prepared hole until about half an inch of the tubeless tyre plug remains visible on the outside. Pull the tool straight out; the plug stays anchored inside. Trim off the excess protruding rubber flush with the tread surface using a utility blade, inflate to recommended pressure, and check for bubbles.
2. How to Fix an Inner Tube Puncture
Tube-type tyres contain an independent inflatable rubber bladder inside the casing. Performing this type of tyre puncture repair requires removing the tyre bead to service the inner tube directly.
-
Access the Tube: Remove the wheel and deflate the tyre fully. Use rounded tyre levers to pry one side of the tyre bead over the rim flange. Unscrew the valve retaining nut and ease the inner tube out.
-
Pinpoint the Leak: Slightly inflate the tube and submerge it in a bucket of water. Watch for continuous air bubbles, mark the spot with chalk, and dry the surface thoroughly.
-
Scuff and Glue: Buff the area around the puncture with sandpaper or a metal rasp to create an abrasive texture. Apply a thin, even coat of vulcanizing cement and allow it to dry until tacky.
-
Apply Patch and Reassemble: Peel the foil backing from a rubber tube puncture patch, center it firmly over the puncture, and press outward to eliminate trapped air bubbles. Ensure the tube puncture patch has completely sealed before checking inside the tyre casing for remaining thorns or wires, refitting the tube, mounting the bead, and re-inflating.

 English
 Arabic
 French
 Spanish
 Deutsch
 Turkish
 Dutch
 Italiano
 Russian
 Romaian
 Portuguese (Brazil)
 Greek